
13 lower back pain stretch entries printable checklist
13 Lower-Back-Pain Stretch Entries: A Printable, Symptom-Guided Checklist
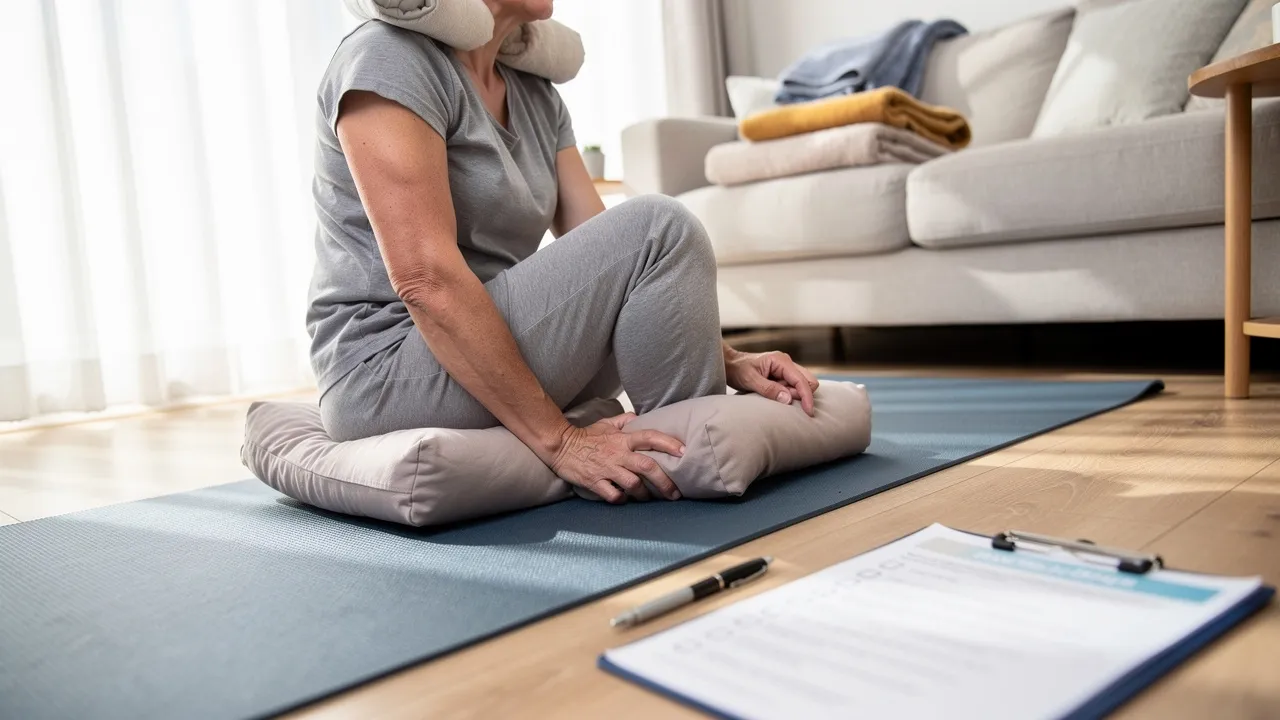
Start with a printable 13-entry stretch checklist
The 13-entry checklist is a practical starting point for gentle lower-back movement at home. Gentle mobility and stretching, especially for the muscles of the legs and back, can help reduce the severity, duration, and recurrence of low back pain. Exercises for low back pain can also be done at home without special equipment.
Print this page or save it where you can see it during movement. The checklist counts side-specific and repeat passes so you have 13 clear lines to follow without treating every line as a different technique. That format makes the routine easier to track while keeping the focus on how your symptoms respond.
Leave a small space beside each line for a brief note such as comfortable, unchanged, or worse. Those notes give you a usable record of which movements stayed tolerable and which ones should remain out of your routine.
The checklist is for choosing tolerable movements, not for identifying the cause of your pain. Start with the first movement that feels comfortable, move slowly, and use the response from your back and legs to decide whether to continue. A stretch should feel manageable rather than forced.
Use a pen to mark each entry only after you have completed it without increasing your symptoms. If a movement produces pain, stop that movement instead of trying to finish the page.
You do not have to complete all 13 lines in one sitting. The checklist is useful when it helps you make a measured choice about the next tolerable movement, including the choice to stop.
Prepare to move gently and comfortably
A comfortable home setup helps you pay attention to symptoms rather than balance or equipment. Choose a firm, stable surface for the lying-down movements, clear enough floor space to move your legs, and clothing that does not restrict your hips or knees. The exercises do not require special equipment.
Begin with the position that feels easiest. Let your breathing stay relaxed, keep the movement slow, and avoid turning a comfortable stretch into a test of flexibility. Your first goal is a controlled response, not a larger range of motion.
Read the numbered sequence before you begin so you know which position comes next. Then keep the page close enough to check the movement cue without twisting or reaching awkwardly.
A gradual starting plan keeps the routine practical:
- Notice how your lower back, buttocks, legs, and any radiating symptoms feel before you begin.
- Choose one or two movements that remain comfortable rather than forcing yourself through all 13 entries.
- Pause between movements and reassess your symptoms before continuing.
- Increase activity gradually when your symptoms remain settled.
- Avoid positions or activities that increase or cause your pain.
Staying active soon after noticing pain and gradually increasing activity can fit conservative self-care. Prolonged inactivity is not the aim, but neither is pushing through worsening symptoms.
A short session can be enough to learn how your body responds. If the first movement increases symptoms, the correct next step is not to move faster or stretch farther; it is to stop that movement and reassess.
Keep this article focused on movement. If you are unsure whether a position is appropriate for you, stop at that point and arrange professional guidance rather than guessing.
The checklist also works best when you treat each line as a prompt, not a command. You can pause, leave a line blank, or stop the session when your symptoms change.

Stretches 1–3: knee-to-chest and lower-trunk rotation
The first three checklist entries use lying-down positions and a comfortable range of motion. Move into each position gradually, and stop if the movement increases your pain rather than producing a manageable stretch.
Keep your back and pelvis as relaxed as the position allows. The instruction is to guide the legs into position, not to pull forcefully or compete for a deeper range.
- Keep the movement controlled.
- Single-knee-to-chest, left side: Return to a comfortable starting position, then pull your left knee toward your chest until you feel a comfortable stretch in your lower back and buttocks.
- Lower-trunk rotation: Keep your back flat with your feet and knees together. Rotate both knees to one side, return to the middle, and repeat on the opposite side.
Mark an entry only when the position remains comfortable. The checklist does not require you to force both sides to the same range.
For the two knee-to-chest entries, let the opposite leg remain in the position that feels comfortable rather than trying to create extra tension. For the rotation entry, use a smaller side-to-side motion if the full movement increases symptoms.
The knee-to-chest movements emphasize a comfortable stretch in the lower back and buttocks, while the lower-trunk rotation uses a controlled side-to-side motion. Keep the movement small if a larger motion increases symptoms. If pain begins, stop rather than treating the discomfort as something you need to push through.
Record the first noticeable change after each movement. A comfortable response supports moving to the next line; a worsening response supports stopping that line.
Stretches 4–6: supported hamstring flexibility
The hamstring entries use support behind the thigh so you can control the knee position. The intended sensation is a comfortable stretch in the back of the thigh, not a sharp or increasing symptom in the back or leg.
Support the thigh before gradually changing the knee angle. That order gives you a steadier starting position and makes it easier to stop without dropping the leg suddenly.
- Keep your left knee bent with your left foot flat on the floor.
- Supported hamstring stretch, left side: Support the back of your left thigh behind the knee, then slowly straighten your left knee while keeping the stretch in the back of your thigh comfortable. Keep your right knee bent with your right foot flat on the floor.
- Supported hamstring repeat: Repeat the side that stayed more comfortable, using the same support and gradual knee-straightening motion. Do not use the repeat to force a deeper position.
The supported position lets you reduce the range if the back of the thigh feels too tense. Keep the opposite foot flat and avoid turning the movement into a fast leg kick. If the sensation changes from a comfortable stretch to pain, stop that entry and return to a neutral position.
The right and left sides may feel different. Treat the more limited side as information about your current tolerance, not as a reason to pull harder or keep repeating the movement.
Stretches 7–9: hip and buttock mobility
- Piriformis stretch, right side: Cross your legs with your right leg on top. Gently pull the opposite knee toward your chest until you feel a comfortable stretch in the buttock or hip area.
- Piriformis stretch, left side: Cross your legs with your left leg on top. Draw the opposite knee toward your chest only until the buttock or hip feels comfortably stretched.
- Piriformis repeat: Repeat the side that remained comfortable, keeping the top leg crossed and the pull gentle. Stop if the movement increases pain, numbness, or tingling.
A crossed-leg stretch can feel different from side to side. You do not need to match the two sides or pull farther to make the routine worthwhile. If stretching causes worse pain or numbness and/or tingling in your extremities, stop the exercise and seek medical attention.
The buttock or hip sensation is a movement cue, not a diagnosis. Do not use the location of a stretch to decide that a particular muscle or nerve is definitely responsible for your lower-back pain.
Stretches 10–13: complete the numbered sequence
The final four checklist entries are repeat passes using the supported knee-to-chest, lower-trunk-rotation, and hamstring movements. Repeating a tolerable movement gives you a complete 13-line routine without adding an untested maneuver or asking you to increase intensity.
These lines are a printable tracking structure, not four additional diagnoses or four different techniques. Use them only when the earlier version of the same movement stayed comfortable.
- Use the same controlled range as entry 1.
- Repeat check: Leave this line blank unless the earlier knee-to-chest movement remained comfortable.
- Keep your left knee bent with your left foot flat.
- Hamstring repeat, left side: With support behind your left thigh, slowly straighten your knee only as far as the back of your thigh remains comfortable. Keep your right knee bent with your right foot flat.
The completed page is a checklist, not a requirement to finish every line in one session. Check off only movements that remain comfortable, and leave an entry blank when it increases symptoms. If a repeat feels worse than the first pass, stop there instead of trying to complete the sequence.
Write down the line that caused the change and stop the related movement. That record helps you avoid repeating the same aggravating position later and gives you a clear point to discuss if you seek professional guidance.
Use your symptoms to decide whether to continue
Your symptom response is the main decision guide for this routine. Do not perform exercises that increase your pain. If you feel discomfort other than ordinary muscle soreness, slow down or decrease the number of repetitions; if pain persists, discontinue the exercises and contact your physician.
A tolerable stretch and worsening pain are not the same signal. A position can feel unfamiliar without requiring a deeper movement, but increasing pain is a reason to stop that entry. Do not use the checklist to prove that you can tolerate a particular range.
Stop the current movement when any of these changes appears:
- Pain increases during the movement.
- Discomfort persists after you reduce the pace or range.
- Stretching causes worse pain.
- Numbness or tingling appears or worsens in an extremity.
- You feel uncertain about how to position yourself or complete the movement.
Use the stop signal for the movement that caused the change. Do not immediately substitute a harder stretch.
A doctor or physiotherapist can help if you are unsure how to perform the exercises or feel pain while doing them. Seek medical attention when stretching causes worse pain or numbness and/or tingling in your extremities. Those responses deserve attention rather than repeated home testing.
If a movement feels tolerable while you are doing it but symptoms worsen as you continue the session, stop the session and do not add more repetitions. The same boundary applies when a repeat pass feels worse than the first pass.
A spine-conditioning program is described as continuing for 4 to 6 weeks unless a doctor or physical therapist specifies otherwise. Treat that timeframe as a clinician-directed program boundary, not as a reason to continue a movement that is worsening your symptoms. Your response during each session still determines whether a particular entry belongs in your routine.
After recovery, the same spine-conditioning program states that performing the exercises two to three days a week can maintain strength and range of motion in your back. That frequency is a general program point, not a reason to repeat a painful entry or continue without professional direction. If your response changes, return to the symptom-based stop rules above.

Keep stretching in perspective as self-care
Gentle mobility and stretching may help reduce the severity, duration, and recurrence of some low back pain, especially when the movements stay tolerable.
A disc bulge or herniation can put pressure on a nerve and cause radiating pain down the leg. That pattern deserves more careful attention than a simple flexibility goal. A stretch that feels acceptable in the back may still be inappropriate if your leg symptoms worsen.
A systematic review reported that Pilates reduced pain more than stretching, with a mean difference of -12 to -4 points and low or moderate certainty. This comparison does not make Pilates a universal answer, and it does not mean stretching has no place in self-care. It does show why a stretching checklist should be treated as one starting option rather than the only form of exercise.
The practical point is to avoid turning one exercise category into a test of what is causing your pain. If stretching is tolerable, you can use it as one part of a broader movement plan; if it worsens symptoms, the response takes priority over completing the category.
A chronic-low-back-pain handout states that degenerative findings on MRI are found in about 60% to 80% of adults and begin appearing on imaging in their 20s. Imaging language alone does not tell you which movement to choose. Your symptoms, physical findings, and response to movement need to be considered together when an evaluation is appropriate. The same handout states that no consistent, established MRI finding is currently known to cause chronic low back pain. For that reason, do not select a stretch from an imaging label alone: use the checklist to record your response to movement, not to turn an imaging description into a diagnosis or guaranteed exercise choice.
Use stretching as one part of conservative self-care: choose tolerable movement, avoid positions that increase pain, and gradually return to activity as your symptoms allow. Avoid turning the routine into a test of whether a disc, joint, muscle, or nerve is responsible. The checklist can organize your next movement decision, but it cannot establish the cause.
A useful boundary is simple: use the routine to observe your response, not to label the structure involved.
Combine the checklist with gradual everyday activity
Gradual everyday activity can be used alongside the stretching routine. You are advised to try to stay active soon after noticing pain and gradually increase activity. Choose an amount that does not increase your symptoms, then reassess rather than making a sudden jump in duration or intensity.
Walking is one example of everyday aerobic activity described for low back pain. Even a short period can be a starting point, with time increased gradually. If walking increases pain or leg symptoms, reduce the activity and use the same symptom-guided approach that you use for stretching.
A return to movement does not require you to ignore symptoms. It means choosing an amount you can monitor and adjusting it when your response changes.
A simple daily plan can look like this:
- Break up long periods of sitting when you can.
- Choose one or two checklist movements that remain comfortable.
- Add a small amount of ordinary activity if your symptoms stay settled.
- Avoid bending, lifting, twisting, or other activities that increase your pain.
This plan supports gradual movement without making it a fixed test. Home-exercise guidance also suggests choosing a couple of stretching and strengthening exercises you enjoy or varying them from day to day. For this stretching checklist, that means rotating among tolerable entries instead of treating every line as mandatory, while still avoiding any movement that increases pain.
Your response over the next several hours matters. If an activity leaves you with increasing pain, return to a smaller amount or stop that activity. If symptoms remain manageable, gradual progression can be more useful than alternating between complete rest and a demanding workout.
Use the same note-taking approach for ordinary activity that you use for the checklist: record what you did, how your symptoms responded, and which activity you will modify next time.
Know when persistent or changing symptoms need evaluation
Persistent or severe pain changes the decision from home experimentation to professional evaluation. If pain persists after you stop or reduce the exercises, discontinue the exercises and contact your physician. If pain is severe despite daily exercises, it may be time to reach out for an evaluation.
Worsening symptoms during stretching also need a different response. Stop the exercise if it causes worse pain or numbness and/or tingling in your extremities, and seek medical attention. Do not repeat the same movement to see whether the change disappears.
A change in symptom quality matters even when the original back pain was familiar. Record which movement preceded the change, whether the symptom traveled into a limb, and whether it settled after stopping. That information can make your later conversation more specific.
Uncertainty about technique is also a reason to ask for help. Talk to a doctor or physiotherapist if you are unsure how to do the exercises or feel pain while doing them. A professional can observe the position and help you decide whether the movement belongs in your plan.
Use this decision sequence:
- Stop the movement that increases pain or produces worsening numbness or tingling.
- Do not resume that movement simply to complete the checklist.
- Arrange professional input when pain persists, becomes severe despite daily exercises, or leaves you unsure how to proceed.
- Seek medical attention for worsening pain or new or worsening numbness and tingling linked to stretching.
This sequence keeps the printable routine in its proper role: a way to organize gentle self-care, not a substitute for evaluation when symptoms change.
Find a Bay Area evaluation for possible disc-related pain
A Bay Area evaluation can be a reasonable next step when lower-back symptoms persist, become severe, or suggest that home stretching is not enough. At RegenCore Method, we offer image-guided, non-surgical options for spinal disc treatment related to back and neck pain in Palo Alto and San Francisco, California.
That service does not determine whether a particular treatment fits your symptoms.
Bring a short record to any evaluation:
- When the lower-back pain began and what was happening at the time.
- Which checklist movements felt comfortable, neutral, or worse.
- Whether pain traveled into a leg or whether numbness or tingling changed.
- Which daily activities increased symptoms.
- What you tried at home and how your symptoms responded afterward.
These details help keep the discussion tied to your actual pattern rather than to an exercise label alone.
You can also bring the printed checklist with the lines you marked or left blank. The page is most useful as a record of your response, not as proof of a particular diagnosis.
A local evaluation is especially relevant when you cannot continue the routine without increasing symptoms or when severe pain persists despite daily exercises. Until you receive guidance, keep only the movements that remain comfortable and avoid using the checklist to test a suspected disc problem.
Choose your next measured step
The next measured step is simple: keep the tolerable movements, stop the ones that worsen symptoms, and book a free evaluation with RegenCore Method when your response does not settle. RegenCore Method offers image-guided, non-surgical spinal disc treatment options in Palo Alto.
Next step
Have a question for RegenCore?
Concierge regenerative & orthobiologic orthopedics in San Francisco and Palo Alto. Research-backed, non-surgical treatment — PRP, bone marrow concentrate (BMAC), stem cell therapy, shockwave, EMTT and spinal disc care — to help the body heal itself.
Get in touch